News
How to: Mountaintop or trailside charcuterie
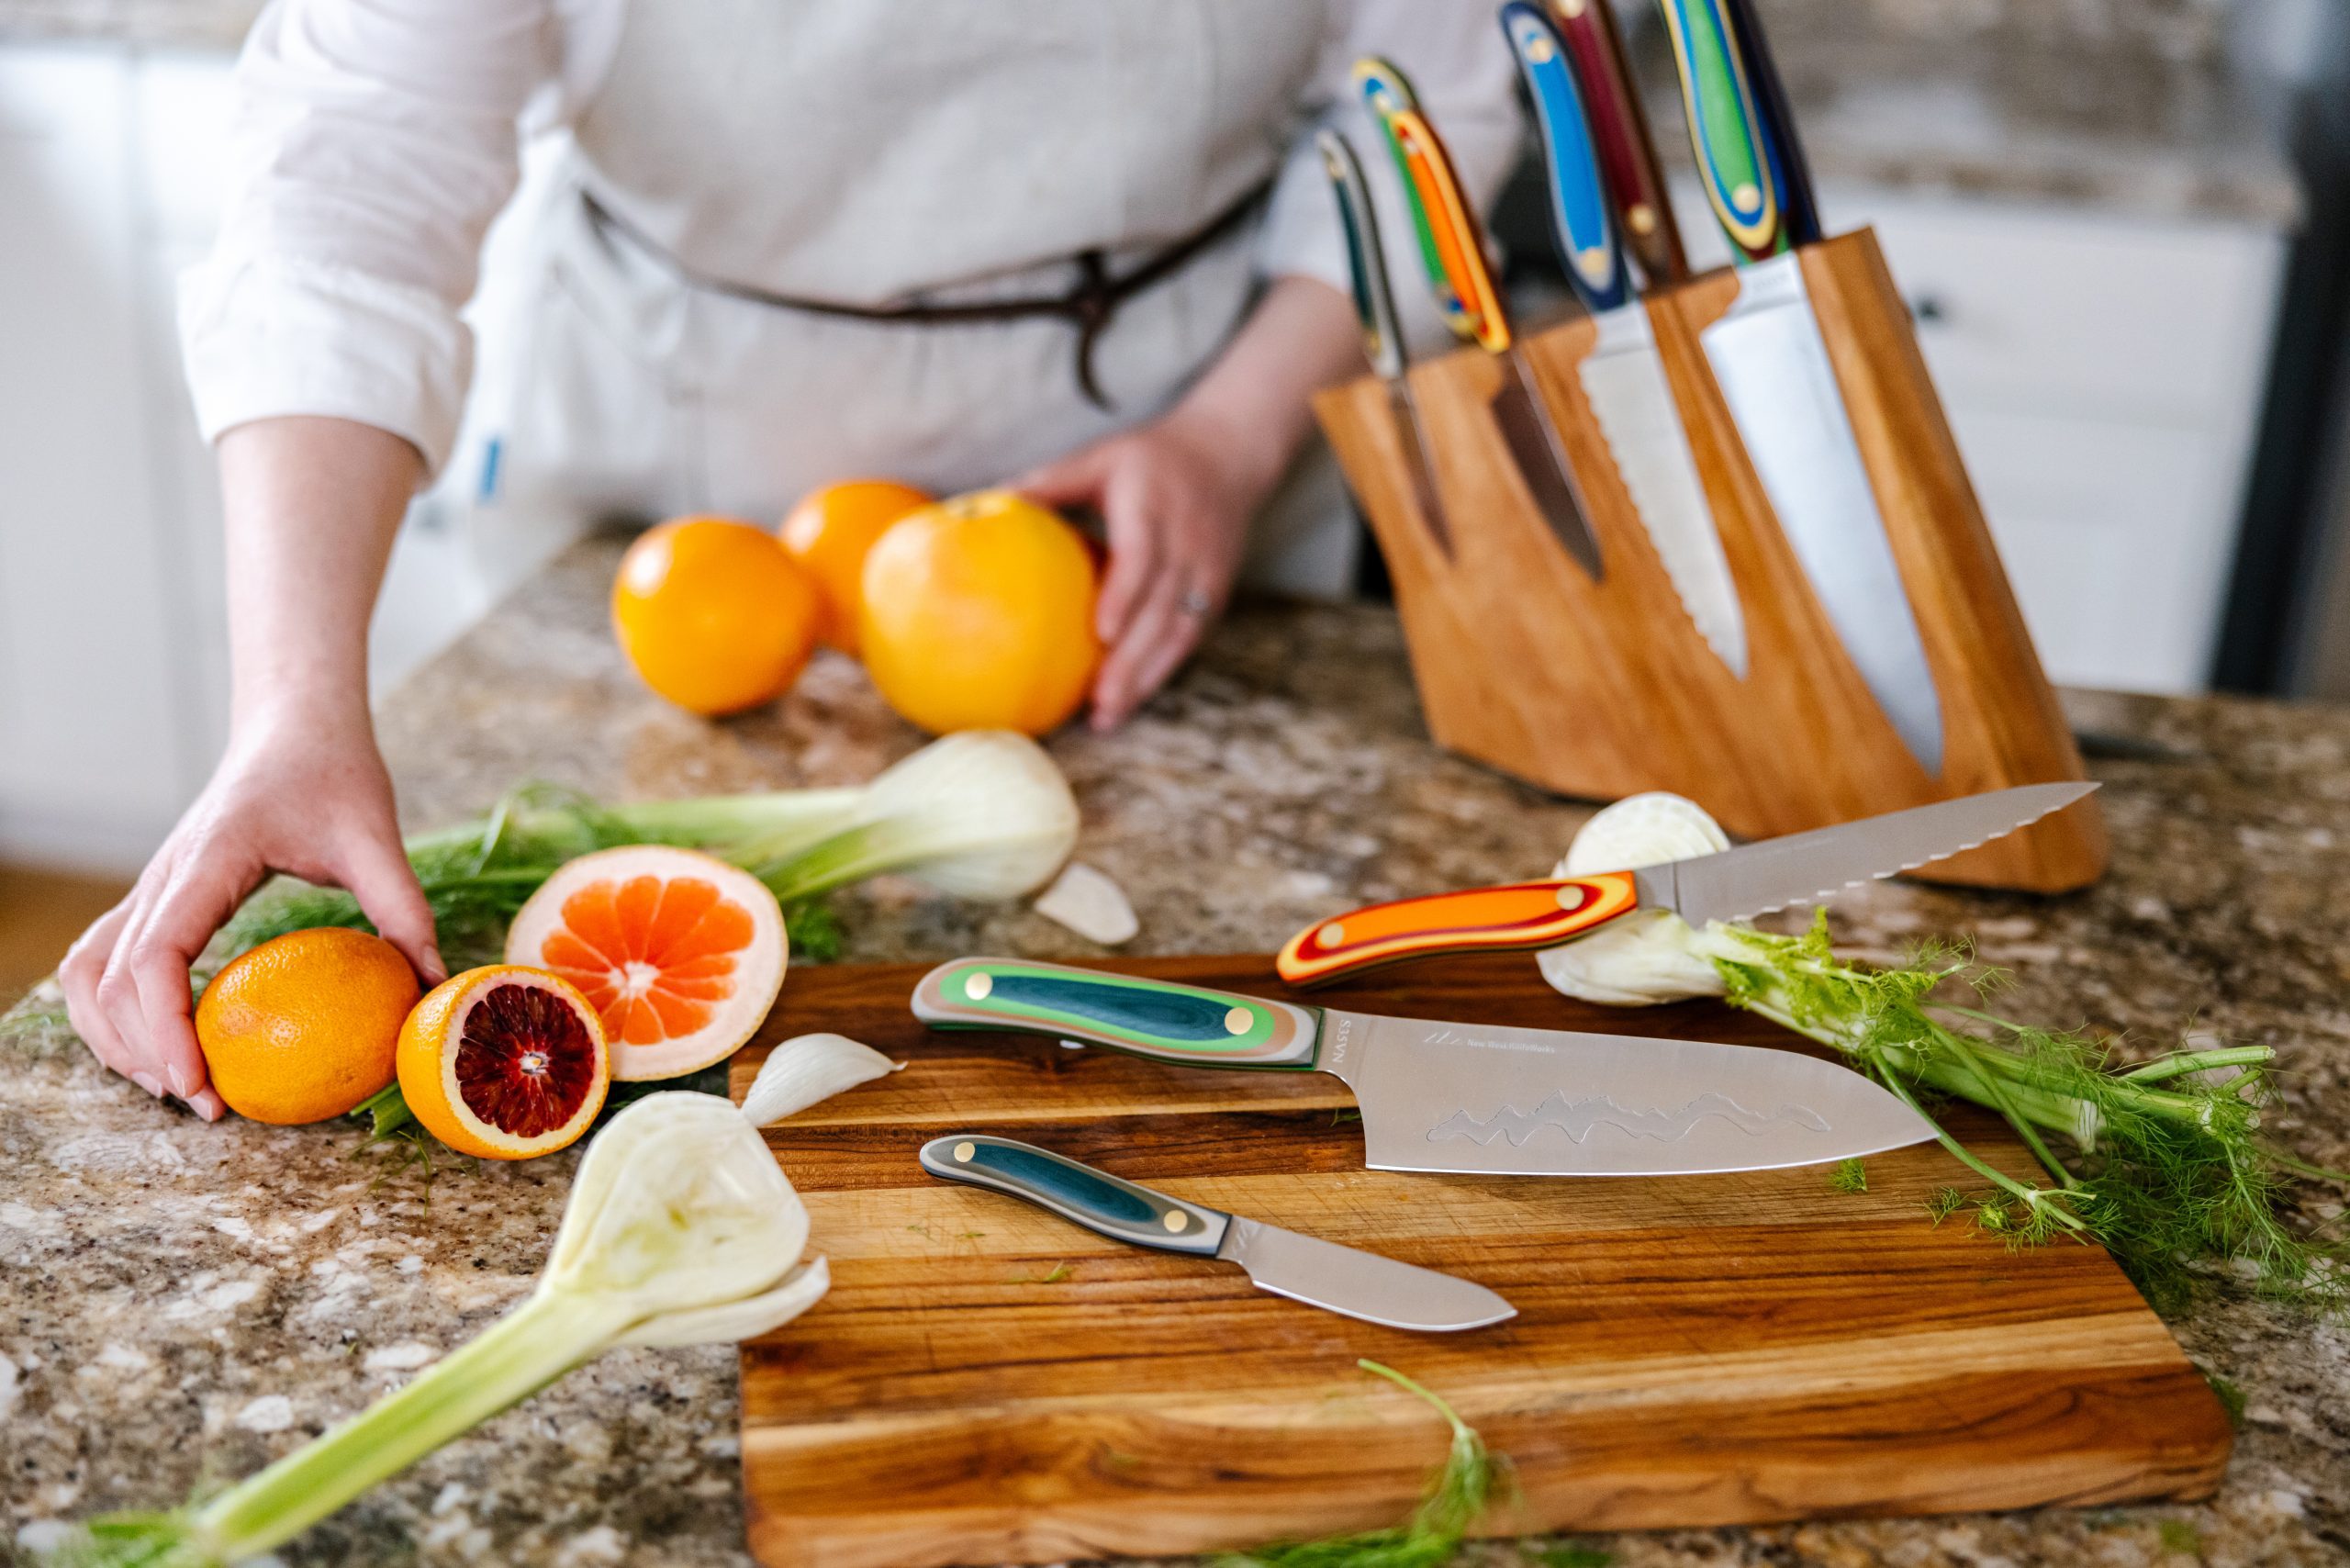
New West Knifeworks has the tools for the perfect trailside charcuterie setup. Photo: Lily Krass.
THE GREAT OUTDOORS, USA — Charcuterie has been quite the buzzword in the foodie world recently, especially in mountain towns where hiking, camping, and charcuterie go hand in hand.
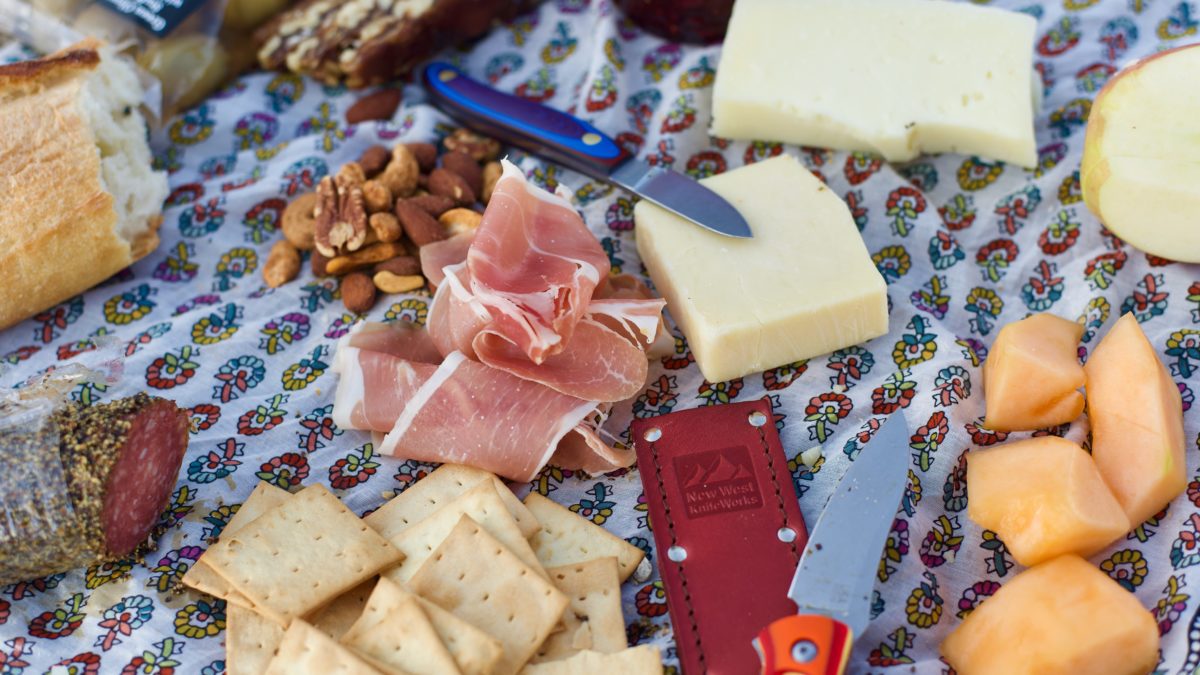
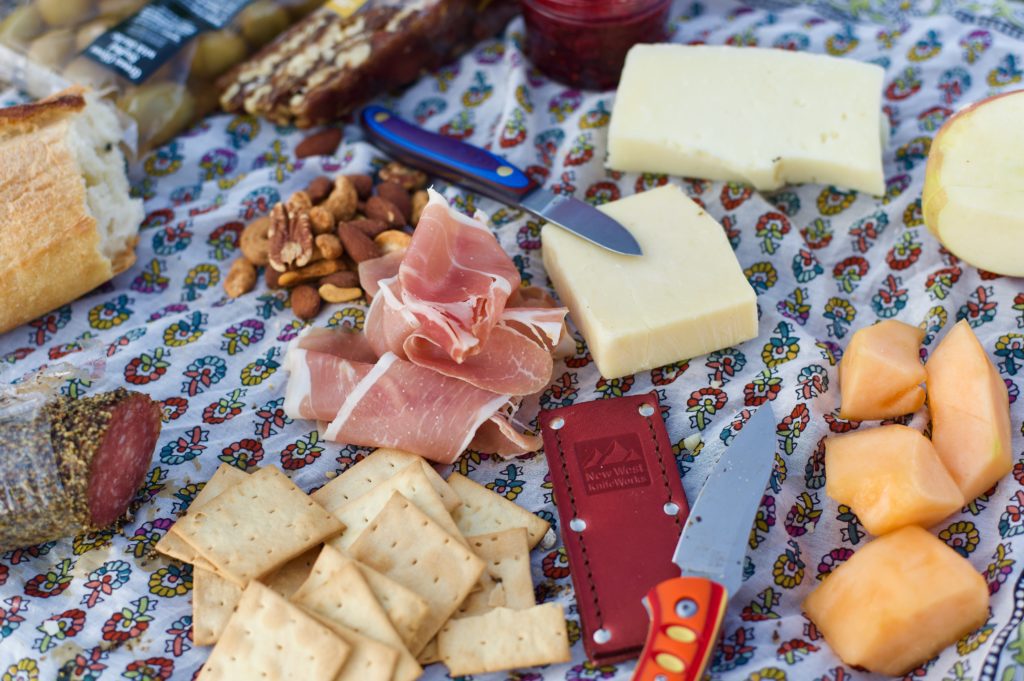
It’s the perfect snack or meal. There’s something for everyone, and there’s no right or wrong way to do it. Pack some meats, cheeses, dried or fresh fruit, nuts, jam, preserves, mustard, or honey, and some crackers or bread, and call it a day. Not to mention, it tastes exquisite at the end of a hike on a mountain vista.
This style of eating isn’t the fastest or lightest, but you won’t notice an extra pound or two in the backpack when you’re perched on a rock with a slice of prosciutto and hunk of Manchego in hand.
For backcountry cheese boarding, the Saddleback Glory Folder alongside the 2” Mini Paring Knife is an unstoppable duo since both are small and compact enough to throw in a pack and provide easy slicing and peeling capabilities without needing a cutting board. Outside of slicing cheese for your mid-mountain picnic, the Glory Folder is a great tool to have on hand for any outdoor adventure, open packages, cut zip ties, make kindling, or spread cream cheese on a bagel.
The 2” Mini Paring Knife is small but mighty, an adorable little knife that packs a surprisingly mean punch for such a compact design. The small blade is incredibly precise while peeling apples or hulling strawberries, and its versatile capabilities and svelte design make it a great knife to have on hand for backcountry picnics.
Tips for Backcountry Cheese Boarding:
Presentation is everything! Pack something to serve your spread on so it’s easy to share. You could go for rugged with a bandana or some sort of cloth to throw over a log or bougie by packing in a cutting board.
When in doubt, opt for sturdy snacks. Yes, a wheel of Brie is tasty, but hard cheeses and unsliced loaves of bread will survive much longer in a backpack. If you opt for a softer, spreadable cheese, look for one that comes in a small container that’s easy to close.
Add shelf-stable tidbits like pre-packaged olives, fancy almonds, or dried fruit that are filling, but you won’t have to stress about keeping fresh.
You may end up with some extra trash on the hike back out, but you can keep most things in their original packaging (minus the cracker box) since cheeses and meats are already sealed up tightly and making it easier to rewrap unfinished cheeses.
Fresh fruit is a splurge but worth it. Sturdy fruit like apples are always a safe option, but some flavors like prosciutto and cantaloupe can’t be passed up, slice up a few wedges at home and toss them in a small Tupperware.
A charcuterie spread is an opportunity for creativity, and this recipe (which is more of a set of guidelines) features a few favorite essentials. But don’t limit yourself; as long as it tastes good and makes you smile after a few hours on the trail, it’s fair game. And don’t forget to pack out whatever you hike in!
Everyone’s Favorite Trailside Charcuterie
Serves 2-4 (depending on the length of your hike)
4 oz. prosciutto, pre-sliced
7 oz. stick salami
5 oz. sharp cheddar
5 oz. Manchego or other firm sheep cheese
1 cup sliced cantaloupe
1 cup mixed seasoned nuts
Package of marinated olives, sealed
Slice of date and walnut cake
1 apple
Small jar of jam
Baguette
Box of Crackers
By: Sponsored by New West KnifeWorks

6110 E Blue Wing Loop
Kamas, UT 84036
3764 Prickly Pear Circle, Unit 5-A6
Moab, UT 84532
2304 N Cohonina Trail
St. George, UT 84770
760 E Edgehill Rd
Salt Lake City, UT 84103
1042 W Shoreline Drive
Layton, UT 84041
1545 N Red Castle Circle
Heber City, UT 84032Talk of the Town


Park City Jobs

Digital Marketing Associate, Park City Community Foundation
3 days ago Contractor $24.00 - $27.00 hourly

Equestrian Stall Cleaner/Feed - EVENINGS, Part-time, SkyRidge
3 days ago Part time $22.00 hourly
Barista/ Cashier, chomp donuts
5 days ago Full time $17.00 - $25.00 hourly
Pastry chef/ Donut Chef, chomp donuts
5 days ago Full time $55,000 - $75,000 yearly
Donut chef/ maker, chomp donuts
5 days ago Full time $17.00 - $24.00 hourly